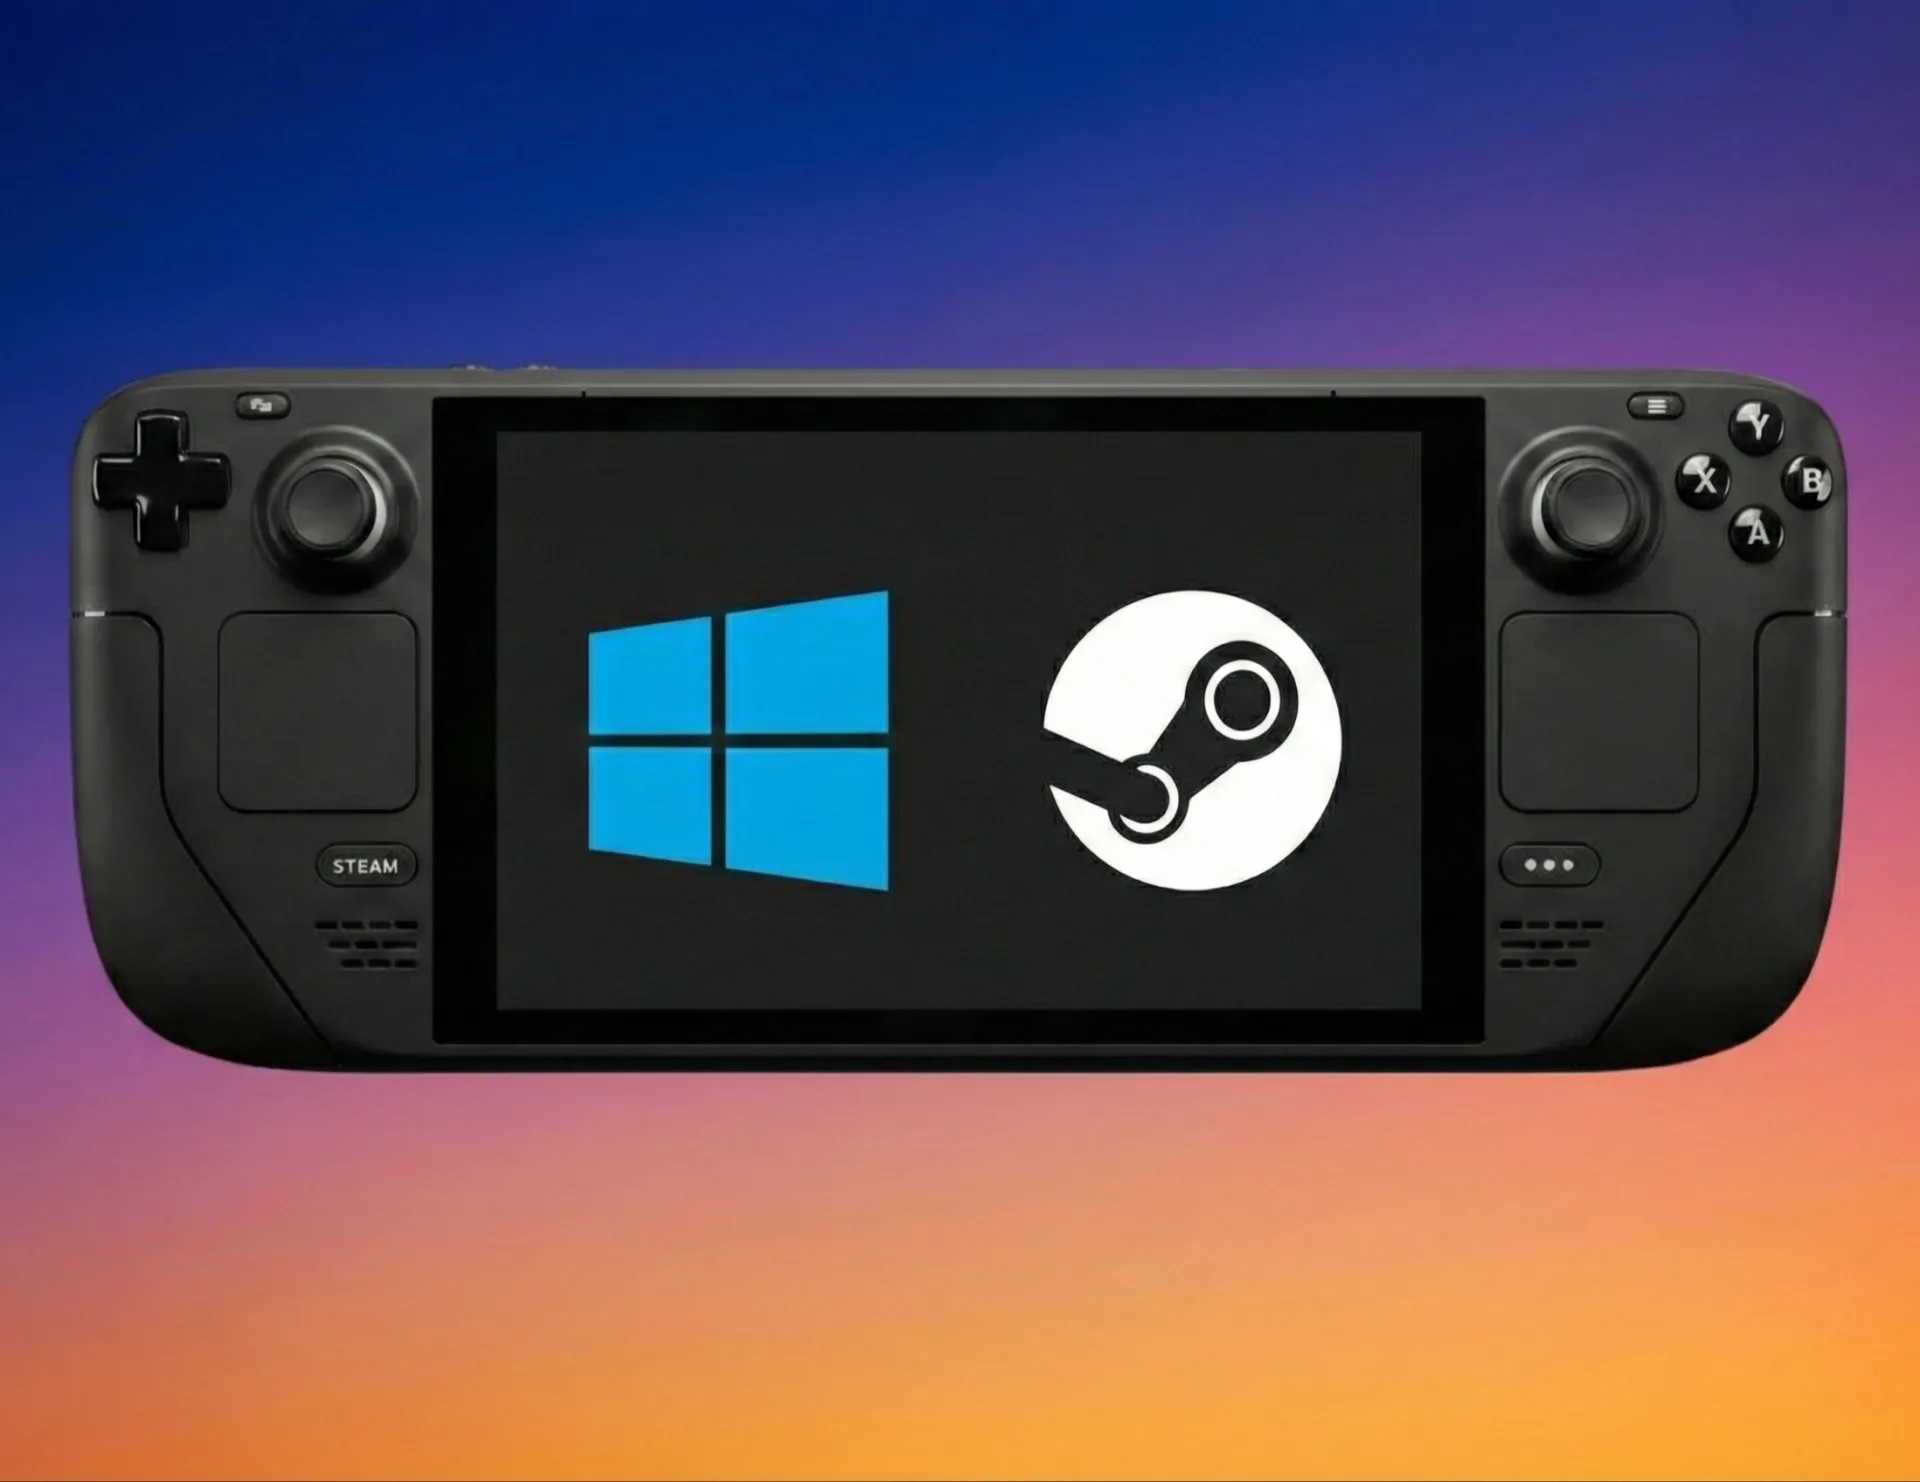
The Steam Deck, Valve's pioneering handheld gaming PC, undoubtedly reshaped our expectations for portable play with its optimized SteamOS and tight integration with your Steam library. Yet, as we've seen countless times in the tech world, even the most innovative dedicated systems eventually reveal their practical limits. Not every PC game or application runs flawlessly – or even at all – on its Linux-based SteamOS, leaving out critical features like the extensive library of Xbox Game Pass titles. This is where the notion of dual-booting enters the conversation.
While Valve has, to our disappointment, yet to release an official dual-boot wizard for its device, the company affirms the Steam Deck is "perfectly capable" of running Windows alongside SteamOS. We, however, view this claim with a critical eye, understanding that "capable" often translates to a complex user journey. This guide aims to navigate that intricate process, offering you a path to running both operating systems, thereby theoretically delivering the best of both worlds: the streamlined gaming experience of SteamOS and the vast compatibility of Windows.
Warning: This process is genuinely complex and we only recommend it for enthusiasts or those with considerable expertise in installing operating systems. Be advised that Valve's support team explicitly does not cover issues encountered when running Windows on the Steam Deck, leaving users largely to their own devices. Proceed with extreme caution, and critically, ensure you back up any essential data beforehand.
Why Dual-Boot? Weighing the Advantages
Before we delve into the technicalities, let's explore the compelling reasons one might undertake this challenging, yet potentially rewarding, endeavor.
The Power of SteamOS: Valve's Vision for Handhelds
SteamOS, a modified version of Arch Linux, is purpose-built for gaming on the Steam Deck, and in our view, it largely nails that brief. It offers several key advantages that define the core Steam Deck experience:
- Optimized Performance: In most games, SteamOS consistently delivers better performance compared to Windows on the Steam Deck. For example, God of War reportedly ran up to 22.3% faster on SteamOS in benchmarks. This isn't just a number; it often translates to smoother frame rates and a more enjoyable experience in demanding titles, leveraging the hardware with greater efficiency.
- Native Controller Integration: The operating system works flawlessly with the Deck's built-in controllers from the moment you boot, a stark contrast to Windows' initial fumbling.
- Dedicated Gaming Experience: It provides a console-like user experience, complete with game-focused menus and instant access to your Steam library, while retaining the underlying flexibility of a PC.
- Native Quick Settings: On-the-fly power and performance adjustments via the Quick Settings menu are a touch away, a feature Windows lacks natively.
- Efficiency: We find SteamOS to be an efficient and visually appealing operating system, meticulously optimized for the Steam Deck's unique hardware.
The Versatility of Windows: Unlocking the PC Ecosystem
While SteamOS shines for its curated gaming experience, Windows offers undeniable advantages that appeal to a broader audience:
- Game Pass Access: This is, for many, the primary driver. Dual-booting unlocks the extensive library of Xbox Game Pass titles, a critical piece of the modern gaming landscape missing from SteamOS.
- Broader Software Compatibility: Beyond gaming, Windows provides access to a vast ecosystem of productivity applications like Photoshop, Lightroom, and Microsoft Office, transforming the Deck into a surprisingly capable mini-PC.
- Anti-Cheat Compatibility: A frustrating reality for Linux gamers, certain popular titles like Destiny 2 (with Battleye) mandate specific anti-cheat software that simply won't run on Linux. Windows bypasses this entirely, opening up a world of online multiplayer.
- Stronger Touchscreen Support: Windows 11, particularly version 22H2, generally offers stronger touchscreen support than its predecessor. While still not perfectly optimized for a handheld, it's a step in the right direction.
- Improved Driver Support: The latest Windows 11 (version 22H2) now features improved Bluetooth and Wi-Fi driver support directly out of the box, addressing some initial pain points for early Windows on Deck adopters.
Important Dual-Boot Considerations: The Cost of Versatility
Dual-booting is a trade-off, and we must acknowledge the inherent compromises when running Windows on your Steam Deck:
- Performance Hit: Windows generally incurs a performance penalty compared to SteamOS, often requiring more processing power just for the operating system itself. While some community members report performance is "not bad at all" and even "better" in some games on Windows, our overall assessment aligns with the common sentiment that SteamOS usually provides a smoother, more optimized gaming experience. This is especially true given that the Steam Deck was designed specifically for SteamOS's optimizations, like shader pre-caching.
- No Native Quick Settings: You immediately lose the intuitive SteamOS Quick Settings menu for on-the-fly power and performance adjustments. Third-party tools like Handheld Companion or Steam Deck Tools can partially restore this functionality, but we cannot stress enough the critical warning: using their "kernel exploit" features for TDP or fan control with anti-cheat games may lead to bans. Community consensus suggests avoiding such adjustments during anti-cheat gameplay.
- Initial Controller Issues: On a fresh Windows installation, the Steam Deck's embedded controller will likely not function correctly until Steam is installed and specific community drivers are acquired, adding an initial layer of friction.
- Boot Order Hassles: Windows has an unfortunate tendency to take over the bootloader, making itself the default boot option after installation. A third-party boot manager like rEFInd is, in our view, absolutely essential for seamless OS selection and a frustration-free experience.
- Storage Demands: A vanilla Windows 11 installation requires approximately 32GB, but we strongly recommend at least 64GB to accommodate updates and essential applications. This makes dual-booting most practical on 256GB or 512GB models. Running Windows directly from a microSD card or external USB drive is a poor solution, as it drastically reduces performance and significantly shortens the lifespan of the external media.
- Installation Quirks: The Windows installer will famously display in portrait mode, demanding a manual rotation post-installation. It’s a minor annoyance but indicative of the less-than-native experience.
Before You Begin: Essential Prerequisites & Caveats
Preparing for dual-booting Windows on your Steam Deck demands specific hardware, software, and a healthy dose of caution. We emphasize these points not to discourage, but to prepare you for the journey.
Recommended Steam Deck Models
- Steam Deck (Original LCD) or Steam Deck OLED: While the original Steam Deck (256GB or 512GB models) is generally more straightforward due to initial driver availability, the Steam Deck OLED can also be dual-booted. However, the process might be subtly different for the OLED model, requiring specific OLED Windows drivers from Valve. We observed that initially, some critical drivers (Bluetooth, audio, and proper GPU clock speeds) for the OLED were not immediately available or fully optimized, leading to a degraded experience on Windows, though Valve has since released the necessary drivers.
Hardware You'll Need: Building Your Toolkit
- USB-C Dock/Hub: This is non-negotiable. You'll need it to connect multiple USB devices (flash drives, keyboard, mouse) and a charger simultaneously.
- Recommended: UGREEN 6-in-1 USB C Hub or JSAUX Steam Deck Dock (both offer multiple USB-A ports, USB-C charging, HDMI, and Ethernet).
- USB Sticks (Flash Drives):
- Minimum: Two USB sticks, at least 8GB each (16GB recommended for reliability).
- One for your Windows installer.
- One for your partitioning tool (e.g., GParted) or Steam Deck Recovery Image.
- Community reports suggest avoiding HP-branded USB drives due to potential slow write speeds.
- Wireless Keyboard and Mouse Combo: A 2.4GHz dongle-based combo (like the RECCAZR set) is easy to connect via your USB hub and, in our experience, highly recommended for navigating installers, especially given inconsistent touchscreen behavior in early Windows setup stages.
- MicroSD Card (Optional, but Recommended for Recovery): A high-quality microSD card (32GB minimum, 512GB ideal for Windows games) can be used to flash the Steam Deck Recovery Image. Flashing to microSD often has a higher success rate than fiddly USB drives.
- Critical Warning: We strongly reiterate that running Windows directly from a microSD card or USB drive will drastically reduce performance and shorten its lifespan. Do not install Windows to external media for daily use.
- Another Windows PC: This is, unfortunately, almost mandatory for easily creating bootable Windows media using Rufus.
Software You'll Need: The Digital Arsenal
- Windows 11 ISO:
- Recommended: Windows 11 (version 22H2 or newer). Windows 11 generally offers better touchscreen support than Windows 10.
- Alternative: Tiny11 (version 23H1) is a slimmed-down, "debloated" version of Windows that some users prefer to reduce system overhead.
- Avoid: Windows 10 older than 22H1. Atlas OS (another slimmed-down Windows) reportedly did not work on the Steam Deck during driver installation.
- Steam Deck Recovery Image: The official bootable live restore disk from Valve. This is crucial for tasks like resizing internal drives and fixing boot configurations.
- Partitioning Software:
- GParted Live USB: An older release (1.6.0-3) is specifically known to boot on the Steam Deck, as the most current versions (e.g., 1.6.0-10 or 1.8.0-2) may encounter issues. It provides precise control over partitions.
- KDE Partition Manager: Accessible through SteamOS's Desktop Mode or the Steam Deck Recovery Disk environment. Be aware, however, that it may limit how much an active partition can be shrunk.
- Bootable Media Creation Tools:
- Rufus: For Windows PCs, this tool simplifies creating bootable Windows ISO USB drives.
- Balena Etcher: Recommended for creating SteamOS or other Linux boot drives (like GParted Live or Steam Deck Recovery Image) from any operating system.
- WinDiskWriter: Recommended for flashing Windows ISOs onto a USB drive on a Mac.
- Steam Deck Windows Drivers: Official drivers provided by Valve are absolutely essential for APU, Wi-Fi, Bluetooth, SD card reader, and audio support. Download these beforehand, ensuring you get the correct set for your specific Steam Deck model (LCD vs. OLED).
- rEFInd: A top-level EFI boot manager specifically designed for SteamOS devices, rEFInd provides a clean, user-friendly menu to switch between operating systems. We consider it indispensable for a smooth dual-boot experience.
- Dual Boot Fix tool: This is essential to prevent Windows from aggressively taking over the boot order and bypassing rEFInd after restarts. It works by creating a scheduled task in Windows to maintain the correct boot priority.
- Windows Controller Drivers & Tools:
- ViGEm Bus driver
- Tetherscript Virtual HID Driver Kit (for keyboard/mouse emulation)
- Steam Windows Controller Driver (SWICD)
- Microsoft Visual C++ Redistributable Package (required by some tools)
- Optional Performance Tools: Handheld Companion by Valkirie or Steam Deck Tools by ayufan. These can restore some TDP/fan controls, OSD, and keyboard access. However, as noted, proceed with extreme caution and be mindful of anti-cheat warnings, as their "kernel exploit" features can be risky.
Crucial Warnings: Proceed With Eyes Wide Open
- Data Loss: Installing Windows inherently involves creating new partitions. Errors during this process can, and often do, lead to data loss. We cannot overstate this: BACK UP YOUR STEAM DECK'S INTERNAL SSD before starting. Tools like CloneZilla (Live-USB version) can create 1:1 copies, though some users report minor issues with resulting clones.
- Power Cut: A power cut during OS installation is a recipe for disaster and could potentially brick your device. Ensure your Steam Deck is fully charged and connected to a stable power source throughout the entire process.
- Anti-Cheat Bans: This is a recurring and serious concern. Using third-party tools like Handheld Companion or Steam Deck Tools for TDP/fan control, particularly their "kernel exploit" features, with anti-cheat games has been reported to trigger anti-cheat software and can lead to account bans. Many anti-cheat systems are designed to detect unauthorized system modifications, and these tools fall into that category. We advise disabling such features or, ideally, not running these tools while playing anti-cheat protected games on Windows.
- Bootloader Issues: Windows is notorious for overwriting bootloaders. If rEFInd isn't properly configured with the Dual Boot Fix, Windows will automatically boot every time. This can prevent booting into SteamOS, often requiring manual fixes via the BIOS (Volume Up + Power to access) or Konsole commands, adding significant frustration.
- Official Support: Valve explicitly does not provide official support for Windows issues on the Steam Deck. This means you are largely on your own for troubleshooting, relying on community forums and your own technical acumen. Some community members feel Valve does not actively optimize the Windows experience, further highlighting the "use at your own risk" nature.
The Step-by-Step Dual-Boot Guide
This guide assumes you are starting with a Steam Deck running SteamOS and have access to another Windows PC to create boot media.
Step 1: Prepare Your Boot Devices — The Foundation
- Download Windows 11 ISO: Obtain the official Windows 11 (22H2 recommended) ISO from Microsoft or the Tiny11 (23H1) ISO.
- Create Windows Bootable USB:
- On your Windows PC, use Rufus to flash the Windows 11 ISO onto one of your 16GB USB sticks.
- Download Steam Deck Recovery Image: Get the official Steam Deck Recovery Image from Valve's website, ensuring it's the correct version for your specific Steam Deck model.
- Create Recovery/Partitioning Bootable Media:
- Use Balena Etcher to flash the Steam Deck Recovery Image onto a microSD card (recommended for its higher success rate over USB) or your second 16GB USB stick.
- Alternatively, use Balena Etcher to create a bootable GParted Live USB, specifically version 1.6.0-3, which is known to work reliably on the Steam Deck.
- Download Steam Deck Windows Drivers: Download all the official Valve Windows drivers for your Steam Deck model (APU, Wi-Fi, Bluetooth, SD card, audio) to a separate USB stick or directly onto the Windows installer USB (if space allows).
Step 2: Partition Your Steam Deck's Internal SSD — Making Room
This is a critical and potentially risky step to make space for Windows. Errors here can lead to data loss, so proceed carefully.
- Connect Your Dock: Plug your USB-C dock into your Steam Deck and connect your power supply, keyboard, mouse, and your Steam Deck Recovery/GParted bootable media.
- Boot into Recovery/GParted:
- Power off your Steam Deck.
- Hold down the Volume Down button and tap the Power button. Keep holding Volume Down until you hear a chime, then release Power.
- This will bring you to the bootloader menu. Select your USB stick or microSD card containing the Steam Deck Recovery Image or GParted Live.
- Open Partition Manager:
- If using the Steam Deck Recovery Image, select "Boot to Desktop" and open KDE Partition Manager.
- If using GParted Live, boot into the GParted environment. Note: The display will be in portrait mode, requiring you to turn the Deck 90 degrees, and a USB mouse/keyboard is essential for navigation.
- Create a New Partition for Windows:
- Locate your Steam Deck's internal SSD (M.2 2230 NVME).
- Shrink the existing SteamOS partition to make space. Be aware that KDE Partition Manager may limit how much an active partition can be shrunk.
- Create a new partition in the unallocated space. While you can format it (e.g., as FAT32), we often find it easiest to leave it unformatted or delete it within the Windows installer itself to let Windows handle the formatting.
- Recommendation: For Windows 11, aim for at least 64GB for the OS partition, plus additional space for games if desired. The total size will depend on your Steam Deck's storage (256GB or 512GB models are highly recommended for dual-booting).
- Apply Changes and Reboot: Apply the partition changes within the manager, then power off your Steam Deck and remove the recovery/GParted media.
Step 3: Install Windows 11 — The New OS Takes Hold
Now, it's time to get Windows onto your newly created partition.
- Connect Windows Installer USB: Plug your USB-C dock into your Steam Deck, connect power, keyboard, mouse, and your Windows 11 bootable USB.
- Boot into Windows Installer:
- Power off your Steam Deck.
- Hold down the Volume Down button and tap the Power button. Keep holding Volume Down until you hear a chime.
- From the bootloader menu, select your Windows 11 USB stick.
- Follow Windows Installation Prompts:
- The Windows installer will be entirely in portrait mode, a truly odd experience that forces you to hold the Deck sideways.
- When prompted for installation type, select "Custom: Install Windows only (advanced)."
- Locate the partition you created earlier. If it's unformatted, select it and click "New" to format it. If it was pre-formatted, you might need to select it and click "Delete" (specifically this partition, not the entire drive!) and then "New" to let Windows manage it.
- CRITICAL WARNING: Do NOT select any option that says "delete everything" or erase partitions related to SteamOS, as this will irrevocably wipe your SteamOS installation!
- Continue with the installation process.
- Initial Windows Setup: Once Windows is installed and reboots, you'll go through the initial setup. At this point, the Steam Deck's embedded controller will likely not work properly (trackpads may function but lack click input). Your connected keyboard and mouse are essential here.
- Rotate Display: After installation, Windows will still be in portrait mode. Navigate to Windows Settings > System > Display and manually rotate the display to landscape.
Step 4: Install Essential Windows Drivers & Software — Bringing the Deck to Life
Windows desperately needs the official Valve drivers to function correctly on the Steam Deck. Without them, the experience will be severely limited.
- Install Valve Drivers:
- Connect the USB stick containing the downloaded Steam Deck Windows drivers.
- Install all the provided drivers (APU, Wi-Fi, Bluetooth, SD card reader, audio). Reboot when prompted. This is particularly crucial for OLED models, where initial driver support was a major sticking point, though Valve has since released the necessary packages.
- Install Steam: Download and install Steam on Windows. This is crucial for initial controller recognition and a baseline experience.
- Install Community Controller Drivers: To ensure full functionality of the Steam Deck's controller outside of Steam games (e.g., for Xbox Game Pass titles), install these community tools:
- ViGEm Bus driver
- Microsoft Visual C++ Redistributable Package (if not already present)
- Tetherscript Virtual HID Driver Kit
- Steam Windows Controller Driver (SWICD)
- Install Performance/Control Tools (Optional, with Caution):
- Consider Handheld Companion or Steam Deck Tools to regain features like TDP and fan control, and access to an OSD.
- Again, be mindful of anti-cheat warnings when using "kernel exploit" features with these tools. As community members attest, modifying these settings during gameplay in anti-cheat titles carries a significant risk of bans.
Step 5: Install a Dual-Boot Manager (rEFInd Recommended) — Seamless Switching
This step is, in our opinion, the final polish that makes dual-booting genuinely usable, transforming it from a chore to an effortless choice.
- Boot into SteamOS Desktop Mode:
- Restart your Steam Deck. If Windows boots by default (which it likely will), hold Volume Down + Power again to access the bootloader and select SteamOS.
- Once in SteamOS, switch to Desktop Mode.
- Set a Sudo Password: If you haven't already, open System Settings, go to Users, and set a password. You'll need this for command-line installations.
- Install rEFInd: Follow instructions to install rEFInd on SteamOS. It's designed for SteamOS devices and offers a clean, customizable boot menu. Community feedback often highlights rEFInd as the preferred choice for its reliability.
- Install Dual Boot Fix Tool (on Windows):
- Boot back into Windows.
- Install the Dual Boot Fix tool. This tool creates a scheduled task in Windows that ensures rEFInd is always placed at the top of the boot order, preventing Windows from bypassing it after restarts. Without this, Windows will almost certainly hijack your boot order again.
- Customize rEFInd (Optional): rEFInd supports custom icons and backgrounds, allowing you to personalize your boot menu for an even more polished experience.
Troubleshooting & Common Issues: Anticipating the Headaches
Even with the best preparation, hiccups can occur. Here are some common frustrations you might encounter:
- Windows Always Boots: This is a classic. If Windows takes over and skips rEFInd, double-check that the Dual Boot Fix tool is properly installed and running on Windows. You may need to manually re-configure the boot order in the BIOS (Volume Up + Power to access) or via Konsole commands in SteamOS if the fix isn't holding.
- Controller Not Working in Windows: Ensure Steam is installed, and all the required community controller drivers (ViGEm Bus, Tetherscript, SWICD, Visual C++ Redistributable) are properly installed and running. This is a frequent early hurdle.
- Poor Performance in Windows: This is often an expected reality. Ensure all Valve's official Windows drivers are installed. Consider using Handheld Companion or Steam Deck Tools for better control over performance profiles (with anti-cheat caveats). Remember, the Deck's hardware is tightly tuned for SteamOS, and Windows carries more overhead.
- SteamOS Updates Affecting Windows: While less common with rEFInd and the Dual Boot Fix, sometimes major SteamOS updates can still affect the bootloader. If this happens, you may need to reinstall or reconfigure rEFInd or use the Steam Deck Recovery Image to fix boot issues.
- OLED-Specific Driver Problems: If you have an OLED model and experience issues with audio, Bluetooth, or GPU performance, ensure you have downloaded and installed the specific Windows drivers for the Steam Deck OLED, as these differ from the LCD model and were a point of contention for many users initially.
Is Dual-Booting Worth the Complexity? Our Editorial Take
Dual-booting your Steam Deck with Windows and SteamOS truly unlocks a world of possibilities, blending the best of console-like gaming with full PC versatility. We believe that for a certain subset of users – those who crave Xbox Game Pass access, need specific Windows applications, or absolutely must play anti-cheat titles unavailable on Linux – the challenging journey is indeed worth the effort.
However, for the average user, the significant complexity, the risk of data loss, the performance overhead, and the potential for anti-cheat bans may outweigh the benefits. Valve’s commitment remains firmly with SteamOS, and while they offer basic Windows driver support, they do not actively optimize for it, nor do they offer an official, simplified dual-boot solution. This leaves users navigating a patchwork of community tools and manual processes.
Ultimately, successfully navigating these intricate steps will transform your Steam Deck into an even more powerful and adaptable handheld device. Just be prepared for a substantial time investment and a learning curve, because the "best of both worlds" often comes at a price of considerable technical acumen. Enjoy your enhanced gaming and productivity on the go!


Comments