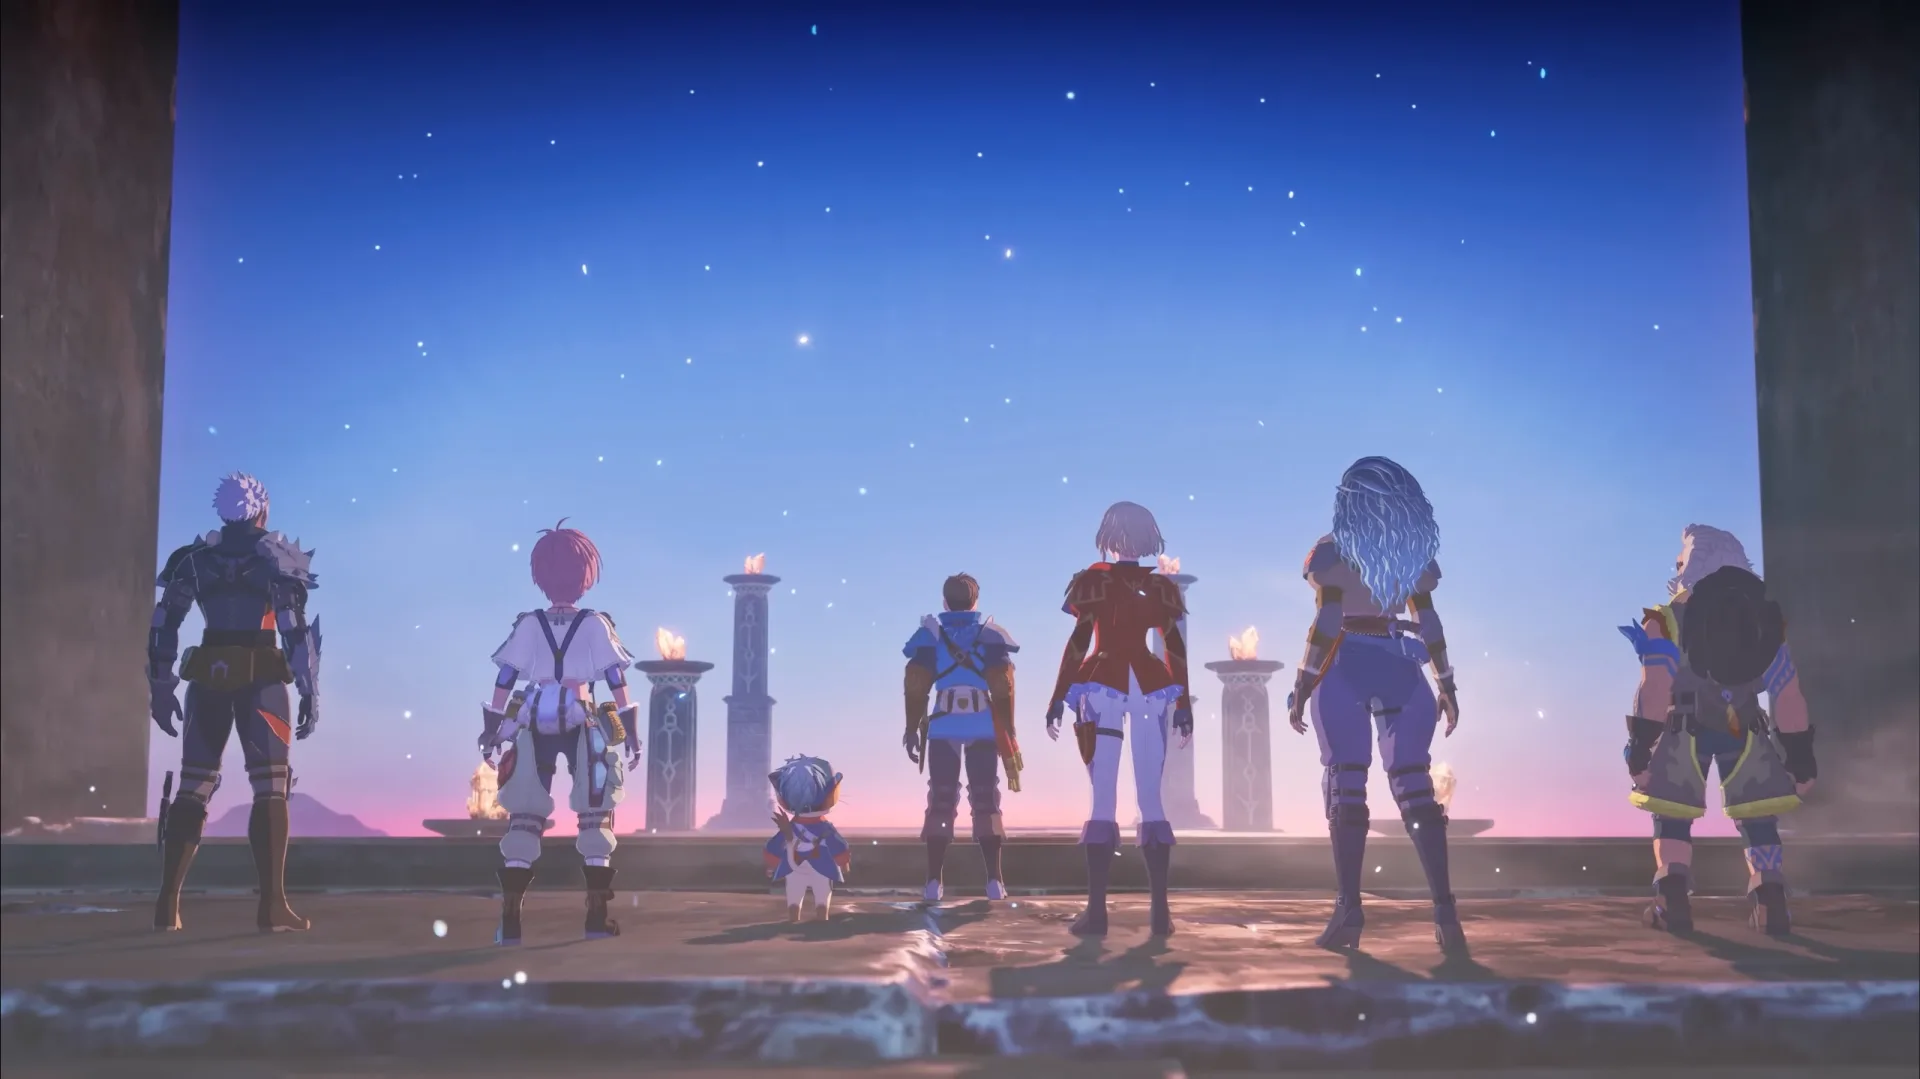
Nine days have passed since Capcom released Monster Hunter Stories 3: Twisted Reflection. The core loop of "hatch, hunt, repeat" remains familiar, but the new systems are much more punishing than those in its predecessors. With a main story that clocks in at roughly 40 hours—and a completionist path that can exceed 100 hours—you need to understand the underlying mechanics before your stable gets overstuffed and your Rider overwhelmed.
We spent the last week exploring the four major regions of Azuria, Canalta Timberland, Tarkuan, and Serathis. If you are just starting your journey, here is how to navigate the early game without wasting precious crafting materials or Rathian eggs.
Tactical Rock-Paper-Scissors
Combat in Twisted Reflection follows the series' established triangle: Power beats Technical, Technical beats Speed, and Speed beats Power. The game now uses clearer visual indicators to identify who is being targeted:
- Blue Lines: The monster is attacking your ally.
- Gold Lines: The monster is coming for you.
- Red Cones: These signal an uncounterable skill; trying to win a Head-to-Head is a waste of a turn.
- No Lines: Expect an area-of-effect (AOE) attack or a buff.
Always prioritize breaking monster parts. Some guides claim specific weapons are mandatory for certain breaks—such as Bows for wings—but we find this to be an exaggeration. Matching Pierce damage to a wing weakness is efficient, but any high-damage output can get the job done. Breaking parts does more than just secure loot; it often disables a monster’s most dangerous moves, which is vital for survival.
Ecosystem Ranks and Elemental Overlaps
The biggest addition to MHS3 is the Habitat Restoration system. Instead of hoarding or selling excess Monsties, you can release them back into the wild to increase the local Ecosystem Rank (up to S-Rank).
This system serves a purpose far beyond mere flavor. Releasing monsters in specific habitats allows you to hatch Dual-Element Monsties. For instance, releasing a water-type monster in the fire-heavy Sunpetal Plains can lead to unique elemental overlaps. We consider this the most important feature to engage with early. A Dual-Element Monstie offers a level of versatility that a standard Rank 1 or 2 creature cannot match in the mid-game.
Equipping the Right Arsenal
You can carry three weapons at a time; ensure you have one of each damage type equipped to handle any situation.
We recommend the Hunting Horn for beginners. The ability to buff your team's defense is often more valuable than the raw damage of a Great Sword, especially when facing "Invasive" monsters that cannot be beaten with brute force alone.
Managing Your 700-Monstie Stable
The game provides a massive stable capacity of 700 Monsties, with 84 hatchable species available at launch. Tempting as it is to stick with your favorites, the Rite of Channeling is now much more forgiving. You can transfer genes between Monsties without losing the donor monster, which is a major quality-of-life improvement.
Don't ignore the lower-rank monsters. Rank 7 Monsties are the ultimate goal, but the EXP-sharing mechanic is generous. Even if you hatch a new favorite that is 20 levels behind, it will catch up within a few battles in a high-level area like Tarkuan.
Survival Tips for the Azurian Frontier
- The Night-Time Trap: Monsters are approximately 10 levels stronger at night. We found that even high-tier players struggle to one-shot basic mobs after the sun goes down. If you are farming for materials, stick to the daylight.
- The Fast-Travel Tax: Catavan stands are convenient, but manual traversal is the only way to find rare crafting materials and the 100 hidden Poogies. Completing Thea's first side story unlocks the Poogie detector, which is essential for finding all 100 hidden Poogies.
- The Barrel Felyne Strategy: These high-EXP enemies only take 1 damage per hit. Some outlets recommend Gaul for his multi-hit attacks, but we suggest using your companion Kora. Her Barrel Bomb move can one-shot them, saving you several turns of frustration.
- Calamitous Elder Dragons: Be warned—if you only "repel" a Calamitous Elder Dragon, you get zero EXP and zero rewards. In our view, this is a harsh design choice that punishes players for barely surviving. If you aren't strong enough to slay it, don't waste your potions on the fight.
Eleanor vs. Gaul: The Companion Verdict
The community is currently split on which companion to take into the field. Simon is a solid choice for those who want consistent healing and support. Conversely, if the goal is leveling up quickly, Eleanor is a superior option for raw damage output. Her Great Sword provides some of the strongest Power attacks in the game, helping mitigate the difficulty spike found in the Canalta Timberland.


Comments